Repair for loose head/neck
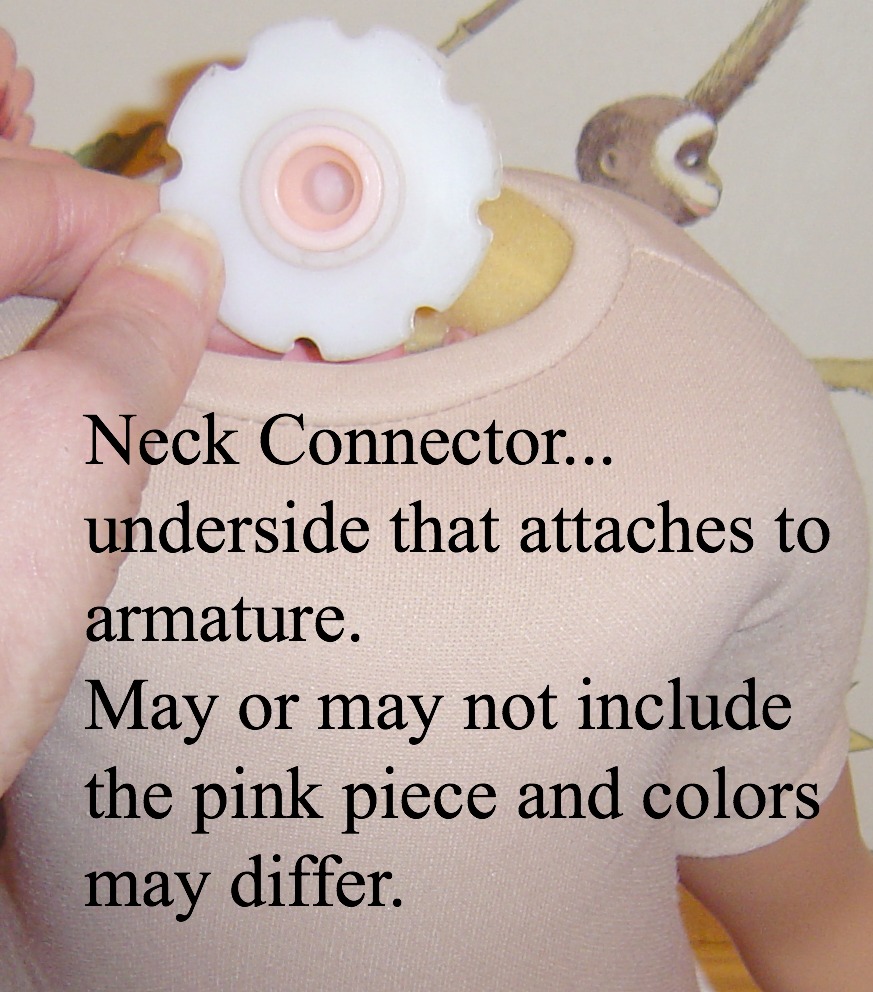
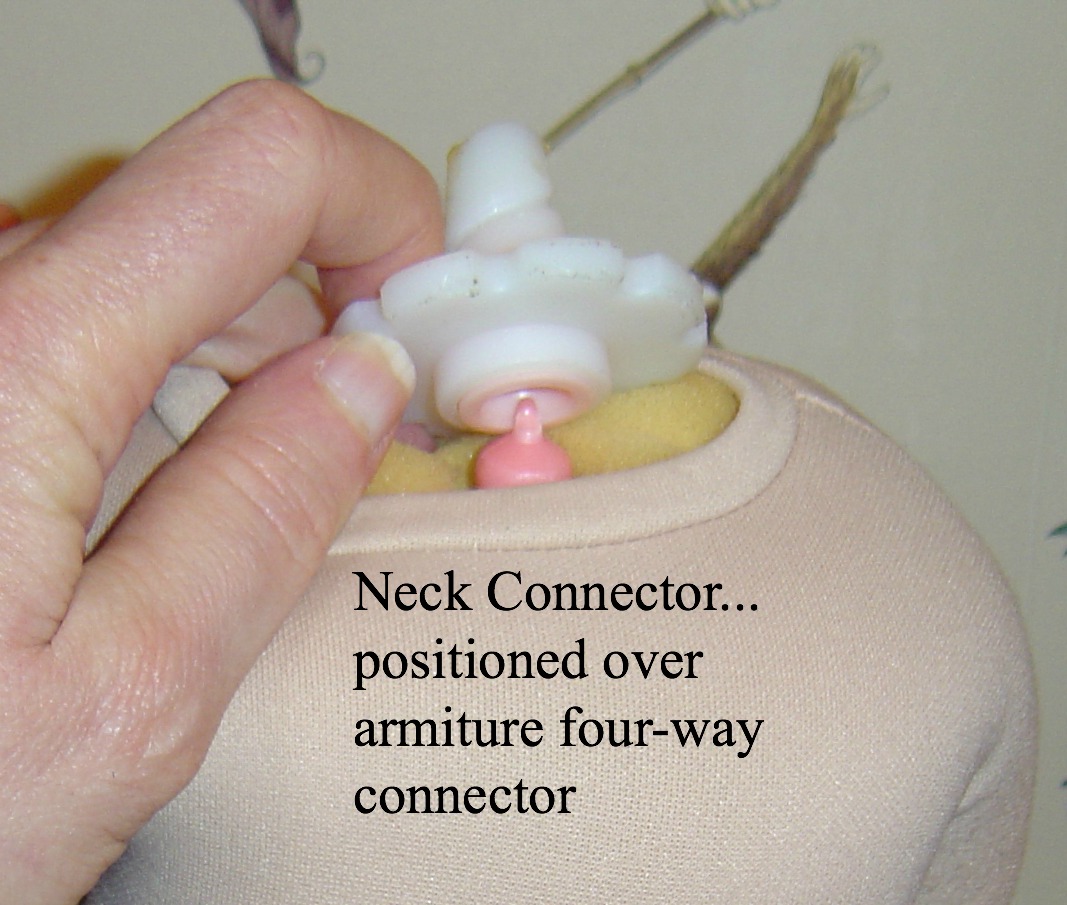
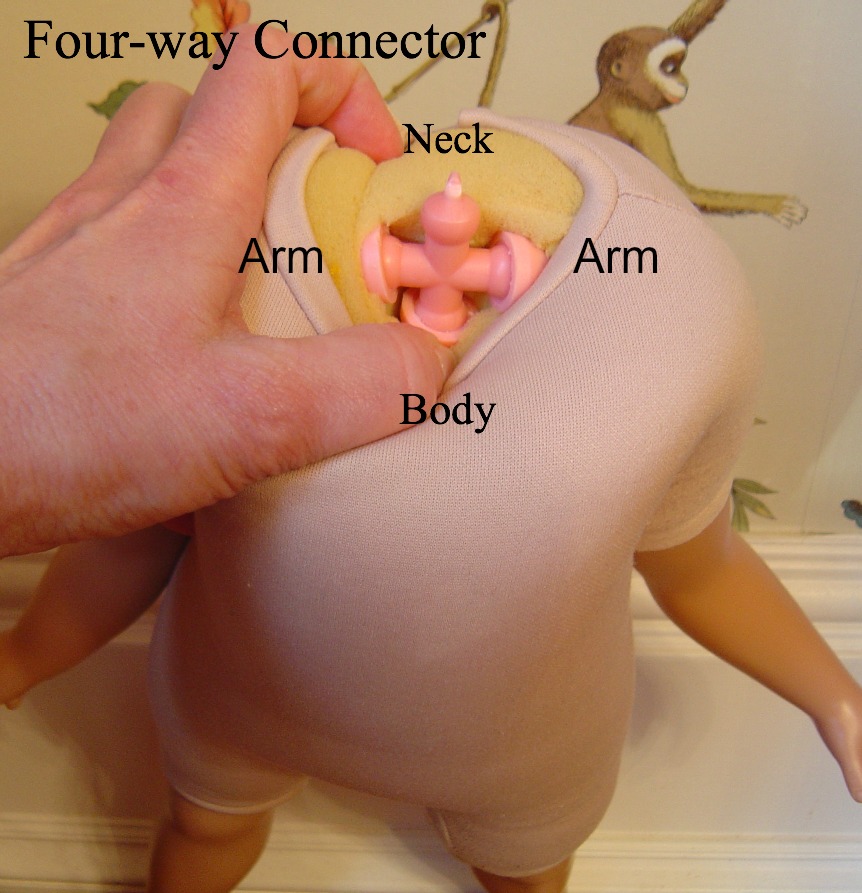
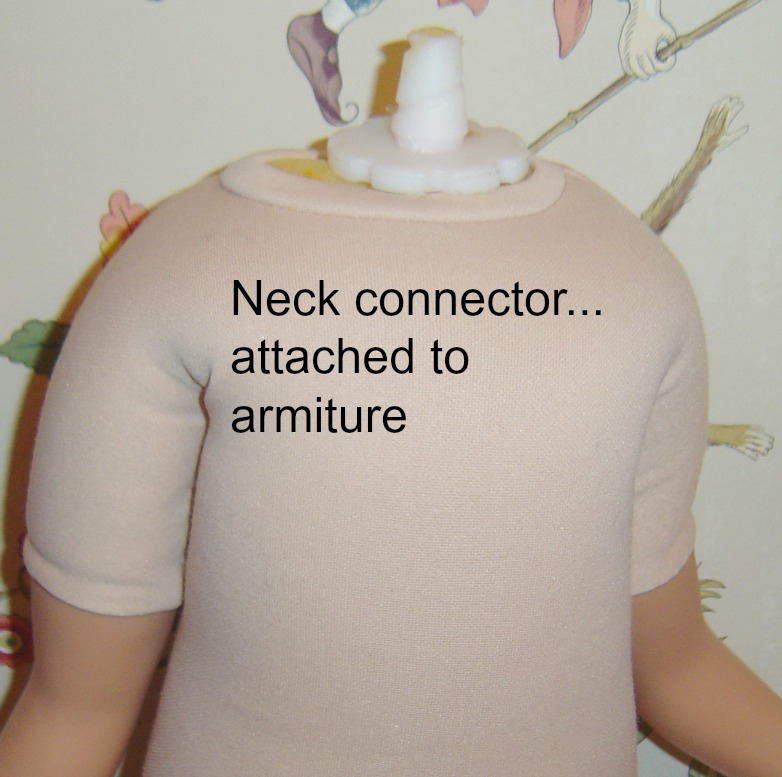
A few photos to familiarize you with the parts involved:
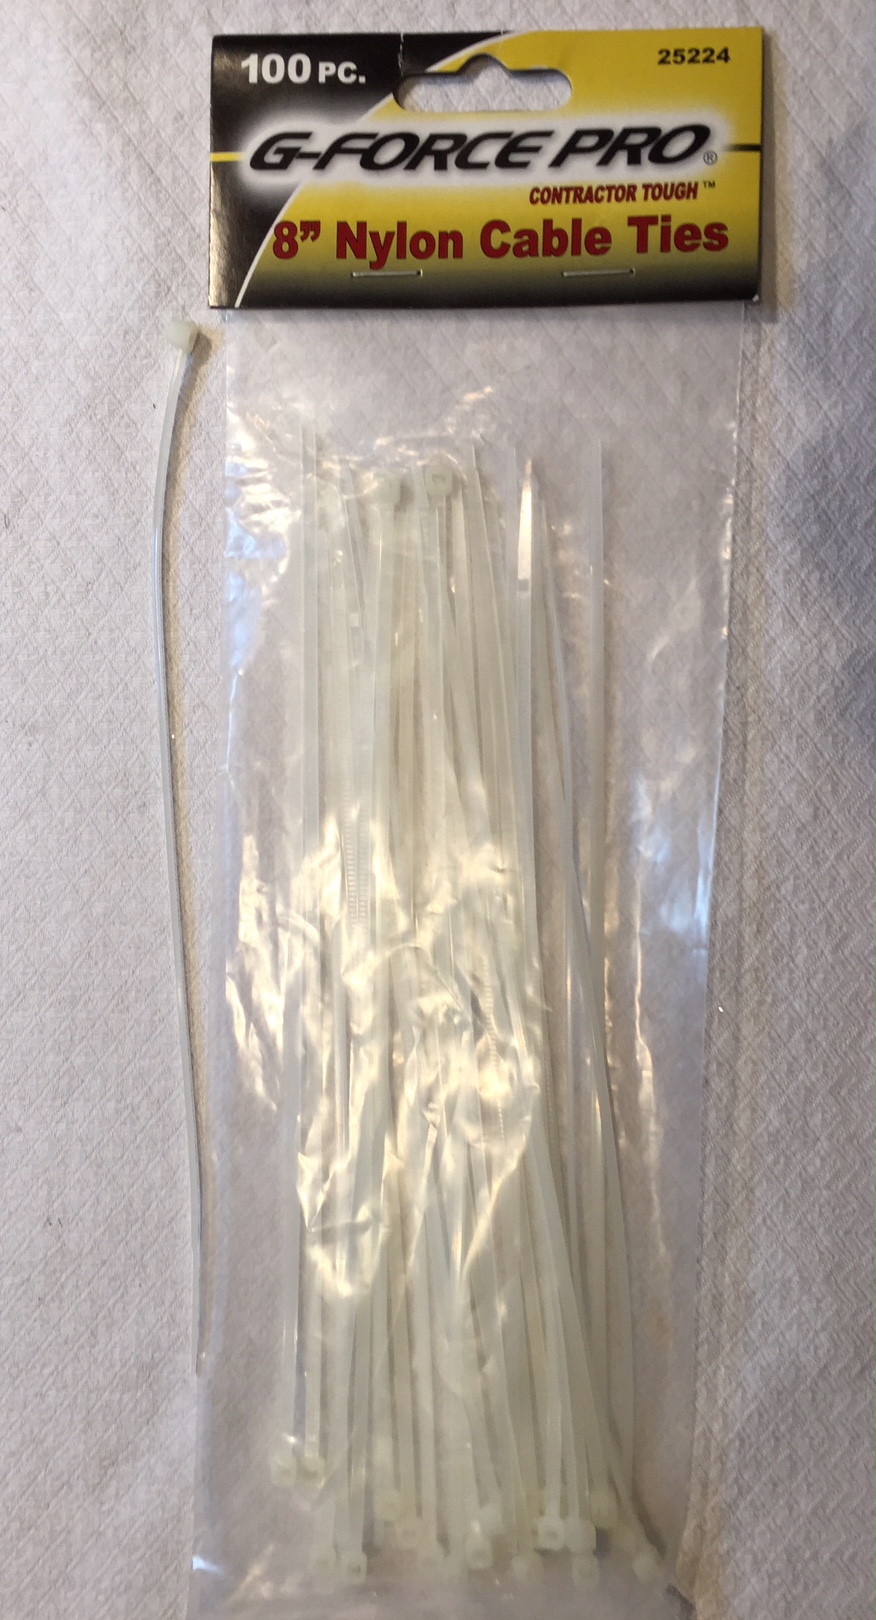
Cable ties: Readily available at hardware and electrical supply stores
Determine why the head is loose:
1. Remove the cable tie (cut it at the back of the neck) and slide back the fabric. You do not need to remove the stitching.
2. Is the neck solidly glued to the gear shaped plastic connector? If yes, does it look like the top of the armature has popped out of the neck connector? If so, you may be able to pop the armature back into the neck connector. If not, your armature may be broken. Email a photo for further directions.
To pop the neck connector back onto the armature:
Wrap the dolls body in a towel to protect it and clamp the doll in a vice on the four-way connector/armature leaving the ball end exposed. Gently heat the ball end of the four-way connector with a hot blow dryer to soften the ball end. Wrap the dolls head in a towel to protect the hair and lashes from heat and gently heat the underside of the neck connector. Use force to pop the neck connector onto the four-way connector/armature.
Additional tips:
If warming is not enough to get the joints to pop together, try spraying a bit of WD-40 on the connector. The neck will be a bit loose for a bit but the WD-40 will eventually evaporate and the joint will stiffen up.
If you try to do this without a vice to hold the doll, be careful you do not pop other areas of the armature apart. It can be very challenging to pop the armature back together.
Note that My Twinn has used several different sizes and suppliers of armatures/connectors over the years. A replacement body may not snap into the neck connector attached to your head. They are matched pairs. Be aware of this if you are trying to replace a body. You likely will need to replace both the neck connector and the body.
An example of a mis-matched set from that was brought to my attention for guidance regarding repair. The doll's head flopped back and forth on the armature even though the gear connector was firmly glued/attached to her head. These two pieces will never snap together as the cup side on the gear connector was larger than the ball side of the armature. This was a mis-matched armature and it is obvious that the doll's body was a replacement and the neck connector attached to the dolls head belonged to a different style armature.
[Sorry - photo lost]
Heat guns are not recommended for warming as they may melt the fabric covering, foam, neck connector and doll's vinyl.
3. If the neck has separated from the gear shaped connector, you will simply re-glue it... or go to 4. for 'Tape Method'. You will need paper toweling, clean towel, hair blow dryer with high heat setting and a concentrator nozzle, high temperature hot glue gun, two pieces pre-washed nylon stockings (or similar, non-staining, stretchy material) to use to clamp head tightly after gluing.
Protect the doll's body from glue by placing paper toweling under the gear/connector. Place the middle of each of the two pieces of nylon stocking under the neck connector, one in front, one in back. These will be tied up over the top of the dolls head to clamp the bond after gluing.
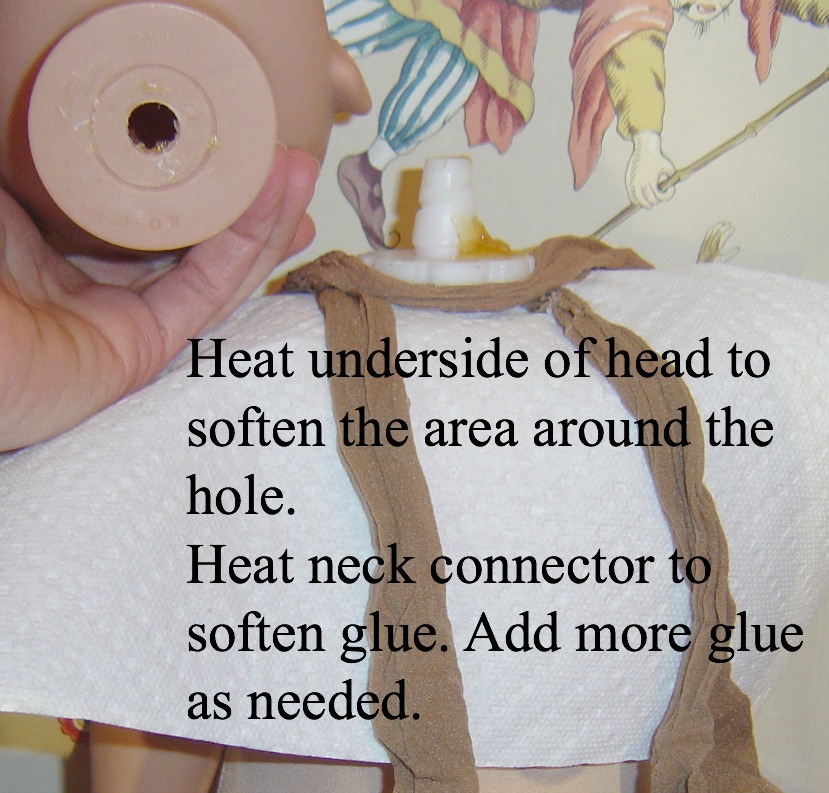
Protect the dolls hair and lashes from heat by wrapping in a clean towel. Reheat the glue residue already present. Often there is enough glue present that reheating will soften it and provide a solid bond. Heat the underside of the doll's head/neck side as well to soften the hole in the neck. (Protect hair and eyelashes from the heat.) Add more hot glue if needed.
Tip from Ed:
You can safely warm the neck area without risking damage to eyelashes and hair by placing it in a cup of nearly boiling water for a few minutes. Place the head in a plastic ziplock bag to keep the inside of the neck dry and allow the vinyl to warm in the water for a few minutes. The hole will become pliable.
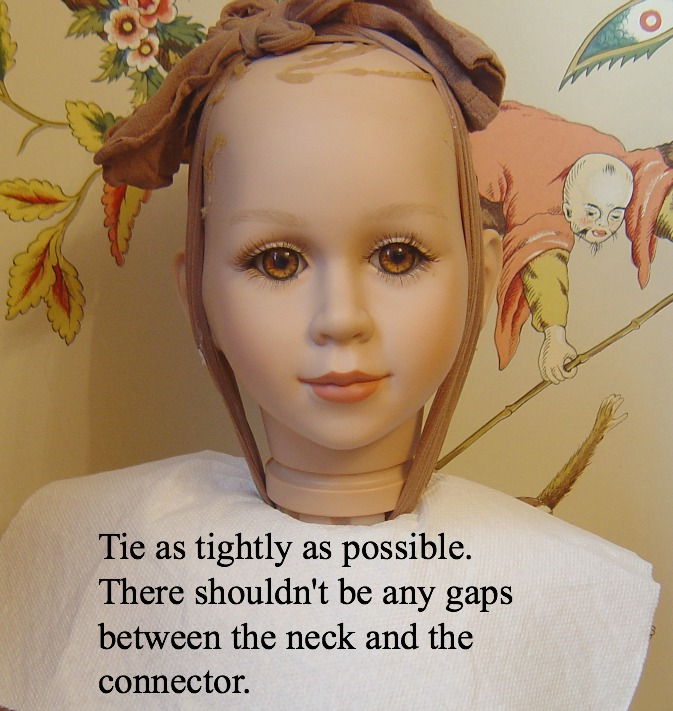
Immediately tie the nylon stockings up over the top of the head tightly. You should not have any gaps at the joint between the neck connector and the head.
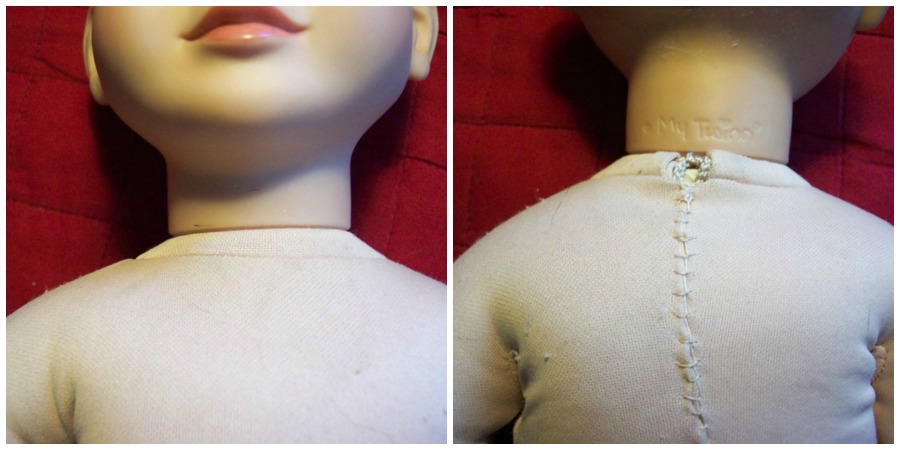
Allow to cool, remove ties, check that your bond is tight. Replace the cable tie.
A few additional tips:
If you can't soften all of the older glue residue remove it. You will get a better bond.
Consider Dollhouse Pat's 'Tape Method' to add additional stability to your bond. See next paragraph!
Permanent vinyl glues are not recommended as further stress to this area may result in an unrepairable broken armature requiring a new body, an expensive repair.
Heat guns are not recommended as they may melt the fabric covering, foam, neck connector and doll's vinyl.
4. Tape Method Thanks to 'Dollhouse Pat' for this suggestion! She removes the glue residue and forces the doll head down onto the cone of the neck connector (some have screw threads and can be twisted into place) and then secures the head in place with discretely placed strips of wide masking tape under the neck connector, trimming and fitting as needed up over the neck channel of the doll head. Heating the neck hole would make forcing the head onto the cone easier... just follow the directions given above in 3. for safe heating. She has found that taping is sufficient to hold the head in place. She also uses cording instead of cable ties to secure the body fabric at the neck... another sensible alternative if you do not have access to cable ties. Remember, you do not need to open the back stitching to do the repairs... merely snip the cable tie and fold the fabric down. Here is Pat's tape repair 'After':
[Sorry... photo of tape around neck connector lost]
Finished result of Pat's tape method using cording rather than cable tie to finish:
Tip: As with any paper based material that is not 'acid free', masking tape may cause discoloration or degradation of the fabric over time... as when tissue paper that is not 'acid-free' is used to wrap dolls for long term storage. This is a long term effect however... and it would be recommended to remove any tape when the doll is being packed away for heirloom storage/preservation. I do not think this should dissuade any parent from using this simple, elegant method to repair a child's play doll.
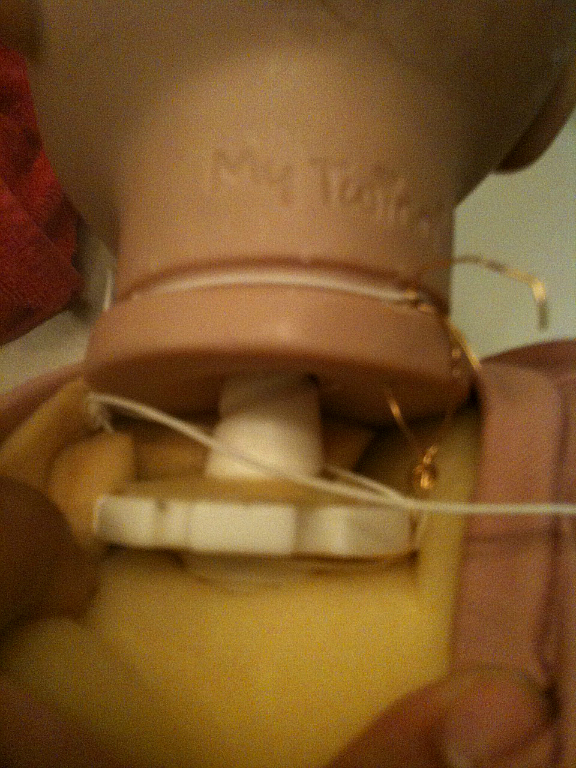
5. There is a series of videos on youtube demonstrating a neck repair. The method is not recommended for several reasons, most importantly the wire ends she leaves will tear up the dolls fabric and could cut a child. That is a hazard! Secondly, wiring the connector to the head will cause the armature to break when this joint comes under stress, requiring an expensive body replacement. The video clips may be helpful to you to see what the inside looks like before opening up your doll. Remember you do not need to open the stitching. You will get a much neater finish by leaving the factory stitching in place. The videos begin with this one: http://www.youtube.com/watch?v=VNc_oIA-Yg8 Again, this method is not recommended.
AaaacccK!!!
A kind soul forwarded this photo of what she found when she went to repair a doll:
Thank you Briana in CA!
6. It has been brought to my attention that some folks have attempted to repair loose heads with screws. This is not recommended... again, it is unnecessary and the safety of your child, and any child who may later come in to possession of the doll, should be your first consideration!
Make a Free Website with Yola.