Eye Changes For My Twinn Dolls
Eye changing is a challenging process. It is highly recommended that you obtain a few practice dolls to gain experience and perfect your technique before attempting this on a valued collectible or well-loved child's doll.
Warning... some batches of post-Denver Era vinyl have been observed to crumble during the eye change process. Proceed with the understanding that there is no way to tell in advance if this will happen to your doll.

TEST your doll's vinyl first:
Heat (see recommendations below) the back of the doll's head/pate area until it is squishy like a rubber ball. Push the pate in and out a couple times, let it cool, reheat a couple times and repeat the squishing and see if you detect any cracking or crumbling. If the vinyl shows any cracking, crumbling or discoloration, do not proceed with eye change through the front of the face. Test each head… there is no guarantee that each batch of vinyl will react the same way.
Standard Procedure:
The eyes for the family of My Twinn dolls are inserted through the front of the face. There is a solid eye pocket that accommodates half round eyes of the following sizes:
23" Twinns: 20mm half round eyes
18" Twinns: 16mm half round eyes
Toddlers: 22mm half round eyes
Cuddly Dolls: 16mm half round eyes
A good source for Twinns sized eyes and lashes is dolleanne.com. There are several other sources but often they have minimum purchase requirements while DolleAnne does not.
Some acrylic eyes are only available as full rounds where there is a back glued onto the half round. This back can often be removed by squeezing the joint with a pliers... the back will pop off... but then there is an edge that needs to be sanded down or broken off (use a needle nose pliers to break of bits) and sanded down.
Work in a well-ventilated area. Heating vinyl releases toxic vapors. Do not heat vinyl in an oven that you use to prepare food.
Remove wig, lashes. Clean the face. Remove loose glue residue.
Make sure you will have no interruptions.
Do not answer the phone or door.
Lay the doll on a clean, white towel with the head facing side ways. Position a powerful hair blow dryer (HEAT GUNS NOT RECOMMENDED... THEY CAN MELT YOUR DOLL) with a focusing nozzle towards eye area (about inch away) on hottest setting, and leave it blow for 5-10 minutes.
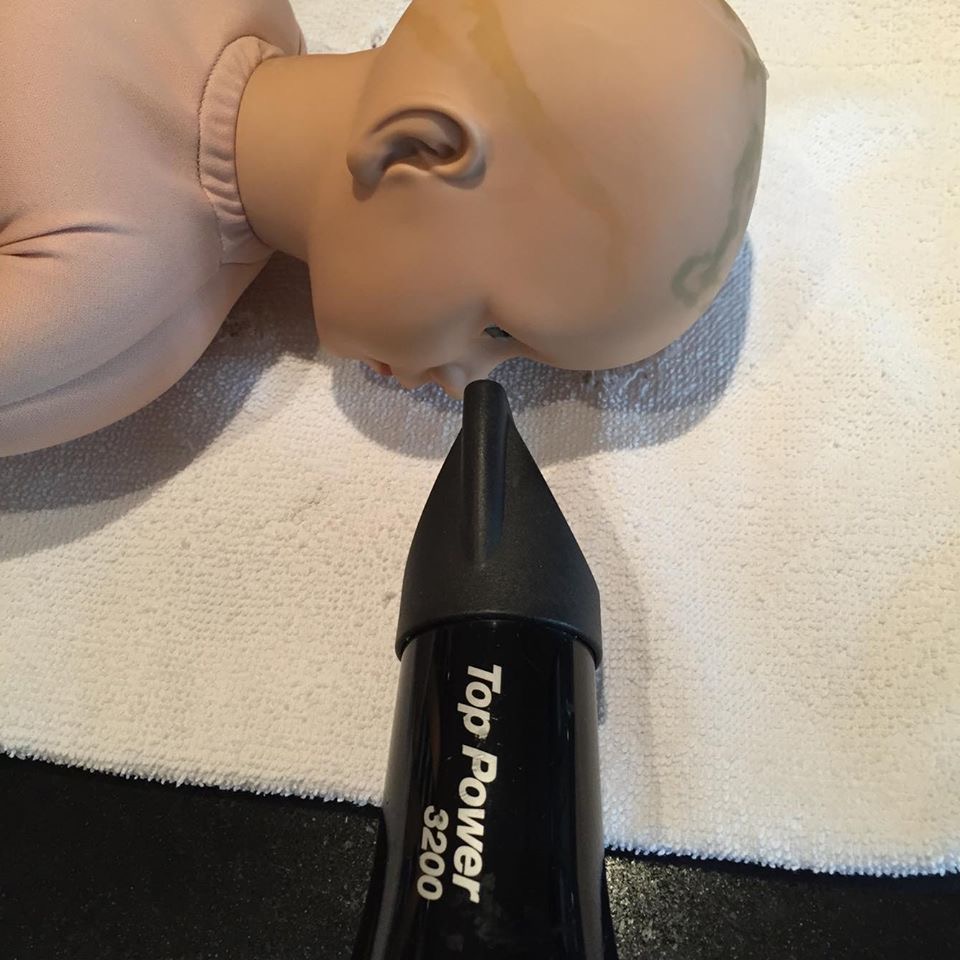
Keep a watch on the doll... timing depends on your dryer. You don't want to melt the vinyl but you want it to become squishy like a rubber ball...yes that squishy. You should be able to easily push nose in and have it pop out. The Denver matte finish vinyl gets to this point more quickly than the later vinyls (and toddler early translucent vinyl). Heed the warning about vinyls that crumble!
When the vinyl is squishy... pop the eyes out. I use an eye glass screwdriver to wedge under the lower lid catching it under the eye. They may fly across the room. Wear safety glasses.
Heat the vinyl again to squishy. Push new eye part way up under upper lid and and then down toward back of head. Position your thumb so that your thumb nail can help to work the eye under the lower lid. If you are lucky it will pop under the lower lid, but with some face molds you will need to use a tool to help this process. When needed I use the eyeglass screwdriver to carefully work the lower lid up over the eye and then press/work with thumb to position. Work quickly. If you feel you aren't making good enough progress and you feel vinyl is losing squishiness remove eye and rewarm. Be careful not to scratch the eye. Don't reheat directly to the eye... it could get damaged... I have had domes crack under direct heating. Once you have one eye in, reheat the other, but protect the eye that is in with a rolled up white wash cloth etc. Allow eyes to totally cool before adding eyelashes. If they are slightly off you can gently warm the eye area and may be able to adjust the eyes... just don't direct the heat directly at the eyes.
IMPORTANT!!!
Avoid boiling water heating method:
I recommend to avoid this method because it creates the potential for future mold growth inside the head/eye sockets. If you are going to use the boiling water method best to place the doll's head in a large heavy weight (or it could melt) plastic bag. It is extremely difficult to dry out the inside of the head and any water/water vapor remaining is a future source for mold growth. Water vapor/steam hitting the cold inside of the head can form condensation-water droplets even if the inside of the head doesn't get wet... so this can happen even using the plastic bag. Dry heat is best way to go. Mold is not only a health hazard, it can grow into the vinyl and permanently stain and degrade the vinyl from the inside out. By the time the mold grows through to the surface, the doll is history.
Avoid Oven Heating Method:
I now I know I said it earlier in this tutorial, but here it is again. Heating vinyl releases toxic vapors. Do not heat vinyl in an oven that you use to prepare food. Toxic chemicals can become deposited on the inside of the oven and when you cook food the chemicals can vaporize and get into your food.
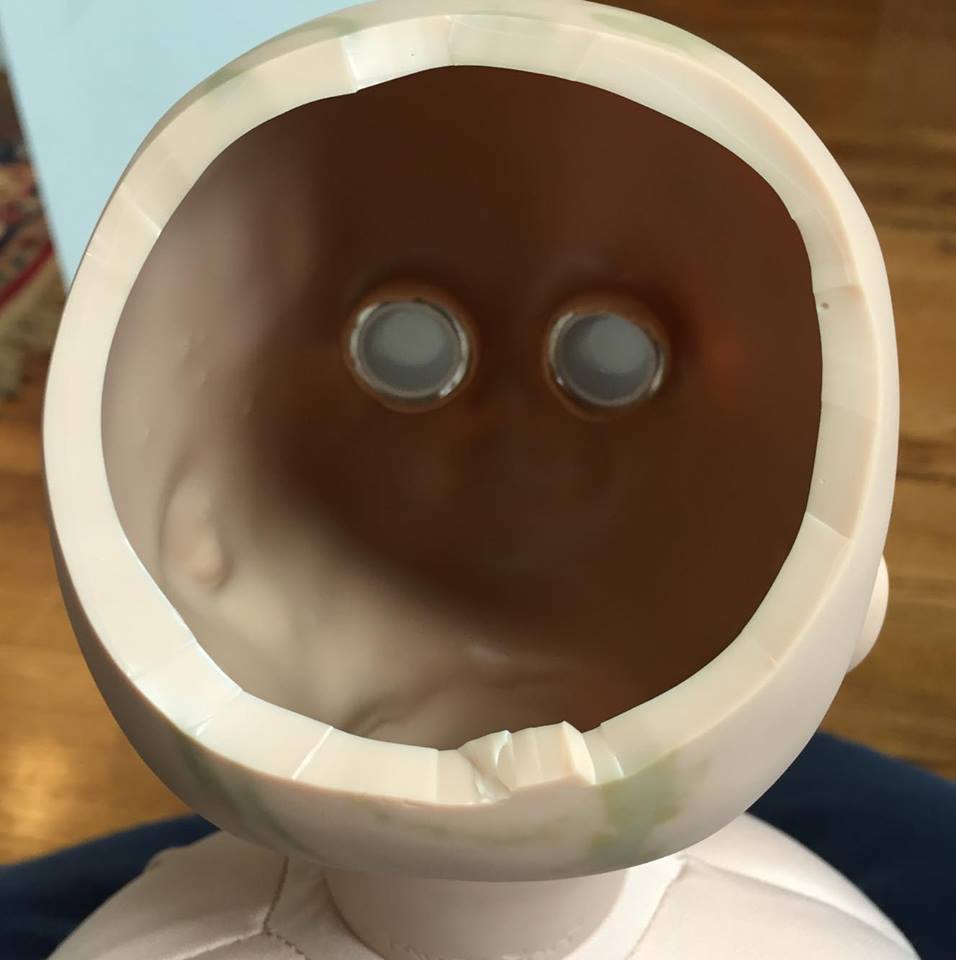
Alternate Procedure:
Eye changes can also be accomplished by cutting an opening in the back of the head, creating a “pate”, removing the back of the eye pocket, inserting the eye, and gluing the pate into position to seal the head. Use clear silicon glue. Depending how much of the eye pocket you remove you may need to add a bead of the silicon glue to the back of the eye pocket to hole the eye in place. Again this is process that takes time to develop your techniques and skill level. Warming the vinyl before cutting will make cutting easier but be aware that warming changes the shape of the vinyl so that when it cools pieces may not fit the same. If that happens to the pate you have removed, rewarm the pate piece and tape it into position while warm. It will retain the proper shape once cool so that you can then glue it into place. The cutting process requires very sharp tools (X-acto knife works well) and a steady hand. Be cautious and exercise due care.
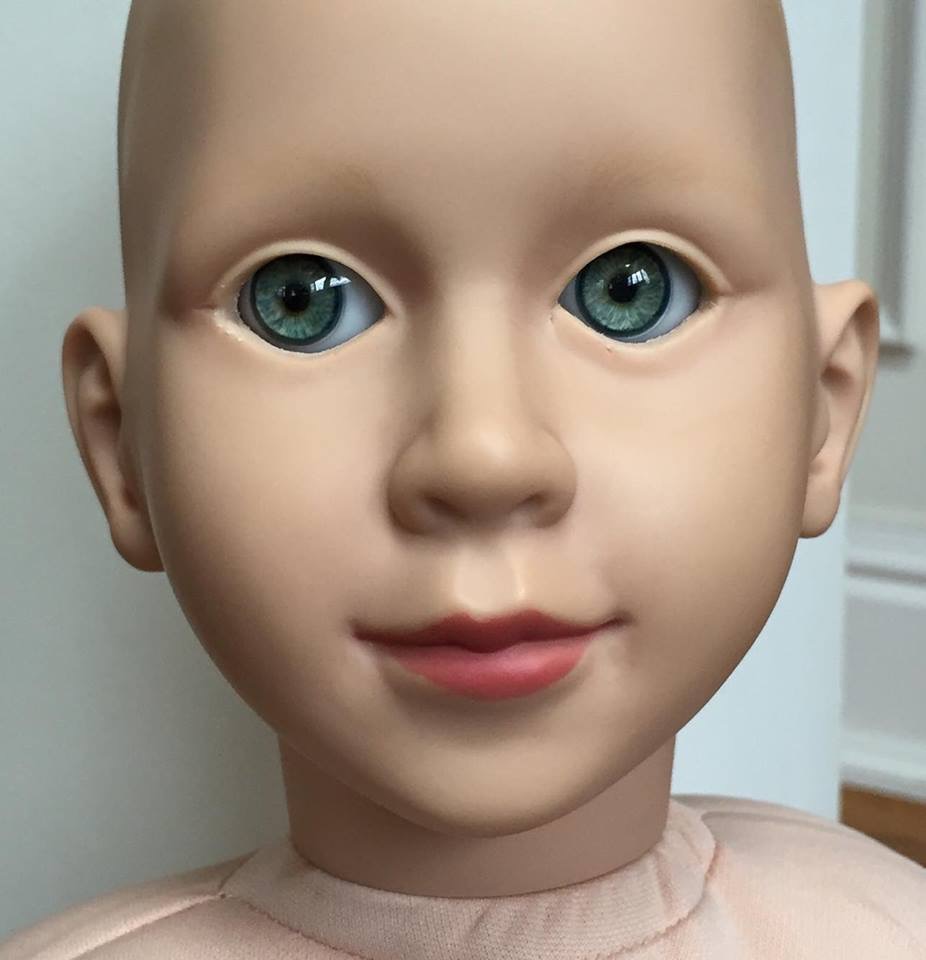
Using the pate method allows you to create side glancing dolls:
Eye changing is a challenging process. It is highly recommended that you obtain a few practice dolls to gain experience and perfect your technique before attempting this on a valued collectible or well-loved child's doll.